Home Harvest - 🌱 General Preparation of a Nursery Bed – For Tomatoes 🍅
At Home Harvest Uganda Ltd, we believe that a great harvest starts with the right foundation — and in tomato farming, that foundation is a well-prepared nursery bed.
🌱 General Preparation of a Nursery Bed – For Tomatoes 🍅
(Example: Tomato Hybrid Optima F1)
At Home Harvest Uganda Ltd, we believe that a great harvest starts with the right foundation — and in tomato farming, that foundation is a well-prepared nursery bed. Whether you are a smallholder farmer or running a commercial farm, proper nursery preparation ensures strong, healthy seedlings that will reward you with high yields and premium quality fruits. 🌾💪
🌟 Why Prepare a Nursery Bed?
A nursery bed allows you to give young plants the best care before transplanting them to the main garden. It ensures:
- 🛡️ Better disease and pest management
- 💧 Easy monitoring and watering
- 📏 Efficient use of seeds and space
- 🌱 Strong, healthy seedlings ready for field conditions
📋 Step-by-Step Guide to Preparing a Tomato Nursery Bed
1️⃣ Select the Right Location 📍
Choose a site that is:
- 🌄 Slightly raised to avoid waterlogging
- 🚰 Easily accessible for watering and management
- ☀️ Exposed to sufficient sunlight
- 🌬️ Protected from strong winds
2️⃣ Clear and Prepare the Land 🧹
- Remove all weeds 🌿, stones 🪨, and plant debris.
- Dig and loosen the soil to a depth of 15–20 cm.
- Break large soil clods for a fine tilth — this makes it easier for seeds to germinate and roots to grow.
3️⃣ Size of the Bed 📏
For easy management, make your nursery beds about 1 meter wide and any convenient length. This lets you work from both sides without stepping on and compacting the soil. 🚶♂️🚶♀️
4️⃣ Add Organic Matter 🌾
- Mix in well-decomposed farmyard manure or compost (about 1 wheelbarrow per square meter).
- This improves soil fertility, water retention, and aeration — all crucial for healthy seedlings. 🌿💚
5️⃣ Disinfect the Soil 🛡️
To prevent soil-borne diseases like damping-off:
- ☀️ Solarize the soil by covering it with clear polythene for 2–3 weeks.
- 🧴 Or use recommended fungicides following agricultural guidelines.
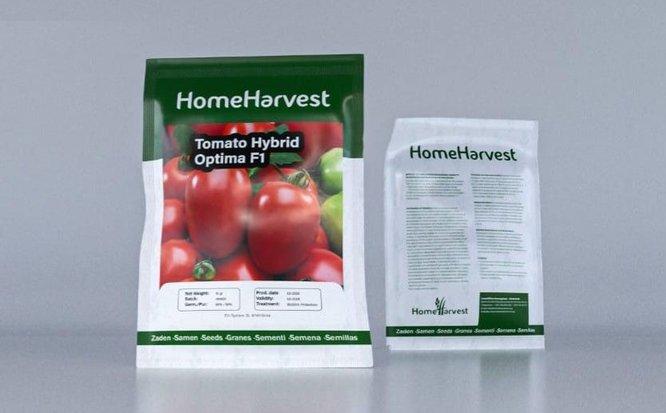
6️⃣ Sowing the Seeds 🌱 (Example: Tomato Hybrid Optima F1)
Our Tomato Hybrid Optima F1 is known for:
✅ High yield potential
✅ Disease resistance
✅ Extended shelf life
✅ Excellent market demand 💰
- Make shallow drills about 1 cm deep and 10–15 cm apart.
- Sow seeds thinly along the drills and cover lightly with fine soil.
- Apply mulch (dry grass 🌾 or banana leaves 🍌) to retain moisture and protect seeds from heavy rain. 🌧️
7️⃣ Watering 💧
- Water gently after sowing.
- Keep soil moist but not waterlogged — too much water can cause diseases. 🚫💦
8️⃣ Seedling Care 🌿
- Remove mulch once seeds germinate (5–7 days for Optima F1).
- Provide partial shade for the first few days 🏖️.
- Thin out overcrowded seedlings to promote healthy growth.
- Control pests 🐛 and diseases using safe, recommended methods.
9️⃣ Hardening Off 💪
Before transplanting:
- Gradually expose seedlings to outdoor conditions for 7–10 days.
- Reduce watering slightly and remove shading to strengthen plants. 🌞
🏆 Final Note
A well-prepared nursery bed is the first step towards achieving maximum yields and quality produce. With Home Harvest Uganda Ltd’s Tomato Hybrid Optima F1, you can expect:
- 🌿 Vigorous growth
- 🛡️ Excellent disease tolerance
- 🍅 Market-preferred fruits that fetch top prices 💰
Your farm’s success starts here — prepare your nursery right, plant quality seeds, and watch your harvest flourish! 🌱🚜🌾
No comments yet. Login to start a new discussion Start a new discussion